

If you work with Elementor and want to change the style or structure of your site, you often quickly end up with theme files. If you do that directly in the main theme, you will lose your changes as soon as an update appears. The solution is a child theme.
With a child theme, you can safely make your own modifications without having updates from the parent theme (in this case Hello Elementor) overwrite your work.
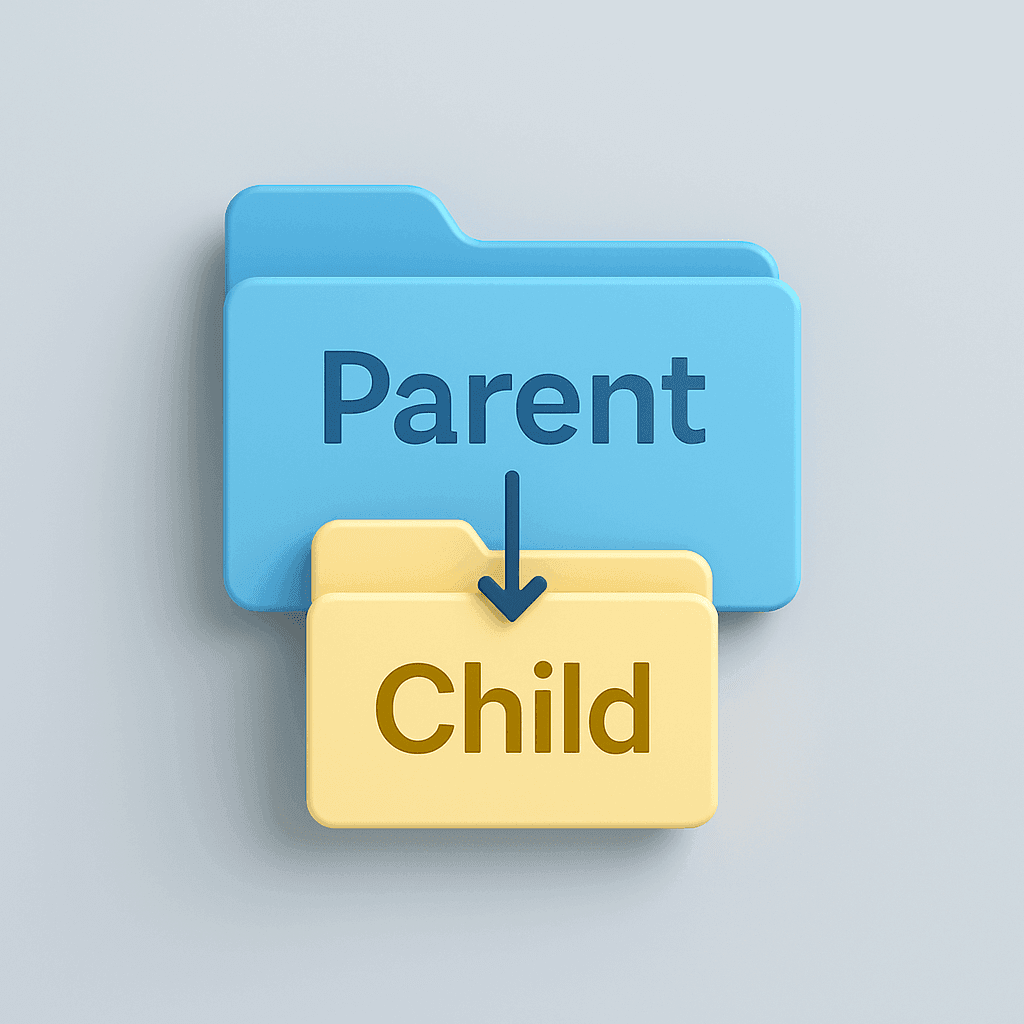
What is a child theme?
A child theme is actually a kind of layer on top of your current theme. The parent theme (for example Hello Elementor) provides all the standard functionality and formatting. The child theme ensures that you can safely make changes to it, without having to mess around in the original files.
You can compare it to a protective cover on your phone: the phone remains the same, but you can modify or replace the cover without damaging the phone itself. It works the same way with child themes: the parent theme remains intact, while you make adjustments in the "protective" layer on top.
What happens in practice:
- The parent theme defines the basics: the standard styles, features and templates.
- The child theme adds your own CSS, functions and custom files.
- Together they shape what visitors ultimately see.
The big advantage is that updates to the parent theme do not take away from your work. So you keep all the freedom to customize your site as you wish, without having to worry every time an update will reset everything to default.
Why use a child theme?
The biggest advantage of a child theme is that your work update-proof stays. Normally, updates to your theme overwrite all files. If you are working in a child theme, then only the files of the parent theme will be refreshed and your changes will be kept clean.
In addition, a child theme gives you overview. Everything you customize yourself - from CSS rules to custom templates - is in a separate folder. So you never have to search for what you added yourself and what comes with the theme by default.
And perhaps most importantly, it is safer. If you make a mistake in your child theme, the parent theme remains unaffected. So you can always fall back on the original files without bringing down the whole site.
Elementor itself recommends child themes as soon as you want more than the default styling options and widgets. In other words, if you really want the freedom to customize your site in detail, then a child theme is the right basis.
Here's how to create a child theme for Hello Elementor
1. Create a folder
Via SFTP or your hosting's file manager, go to:
/wp-content/themes/
Here you see a folder hello-elementor. In the same directory, create a new folder named:
hello-elementor-child
2. Add a style.css file
In the new folder, create a file style.css and paste this code:
/*
 Theme Name: Hello Elementor Child
 Description: Child theme for Hello Elementor
 Author: [your name or company]
 Template: hello-elementor
 Version: 1.0.0
 Text Domain: hello-elementor-child
*/
Feel free to modify the name, author and description. The important thing is that Template corresponds exactly to the parent theme's folder name: hello-elementor.
3. Add functions.php
In the same folder, create a file functions.php and add this:
<?php
add_action( 'wp_enqueue_scripts', function() {
    wp_enqueue_style( 'parent-style', get_template_directory_uri() . '/style.css' );
});
?>
This code will automatically load the styles from Hello Elementor, on top of the styles you add yourself in your child theme.
4. Activate your child theme
Upload both files to the folder hello-elementor-child. Log in to your WordPress dashboard, go to View > Themes and activate your new child theme. Your site will look the same, but you can safely put your changes in the child theme from now on.
5. (Optional) Add a screenshot
Do you want your child theme to also have a recognizable image in the theme overview? Place a PNG image of 1200×900 px in your child-theme folder and name it screenshot.png.
How will you proceed?
From now on, make all your CSS changes in style.css of your child theme. For templates, it works like this: copy a file from Hello Elementor to the child theme folder and edit that file. Anything you don't copy will automatically keep coming from the parent theme.
So you can safely modify headers, footers or specific template files, without the risk that an update to Hello Elementor will undo your work.
Example: adding your own CSS rule
Suppose you want to give the buttons on your site your own color, because the default settings of Hello Elementor are not enough. In your child theme, you can easily do this by adding in style.css add an extra line, for example:
button,
.elementor-button {
  background-color: #0056b3;
  color: #ffffff;
  border-radius: 4px;
}
Once you save the file and refresh the cache, all the buttons on your site will have this style. Since this is in the child theme, it will be preserved when Hello Elementor is updated.
Example: modifying a template file
Want to build your site's header a little differently? Then copy header.php from the Hello Elementor folder to the folder of your child theme. Adjust the HTML or PHP there, for example to add an additional menu location.
WordPress uses your version of header.php, while all other files just keep coming from the parent theme. This allows you to make targeted and safe changes.
Need help with child themes?
Creating a child theme is not technically difficult, but can be exciting when you first do it. At Surver, we build websites with a secure structure by default and have a lot of experience with themes like Elementor, as well as many others.
Would you like us to take care of this for you, or are you looking for support through our webmaster service, then we're ready to help you - whether it's small tweaks or complete custom solutions.