

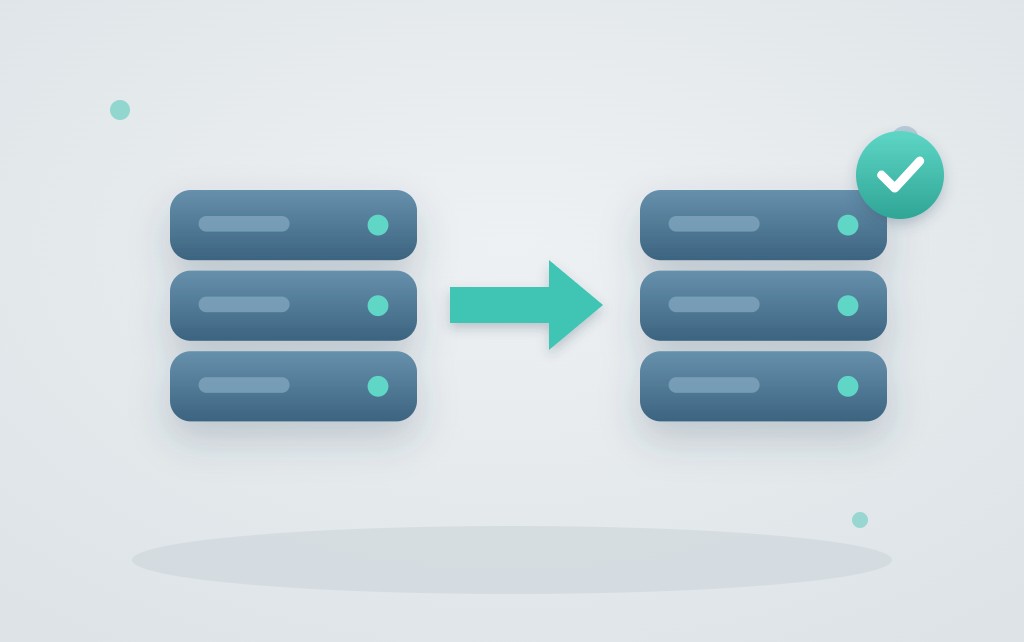
You want to switch hosting providers because your site is slow or support isn’t responding, but you’re worried about going a day without a website or email. Migrating a WordPress website involves creating a full backup, transferring files and the database to the new hosting provider, updating URLs and configurations, testing via a temporary URL, and only then updating the DNS. This way, the site stays online. Below, you’ll learn how to do this and where things usually go wrong.
Three Ways to Move Your WordPress Website
You can migrate a WordPress site using a migration plugin, manually, or by having your new hosting provider’s migration service handle it. Which option is best depends mainly on the size of your site and how well you understand the underlying technology.
| Method | What You Do | Level of Knowledge | Risk |
|---|---|---|---|
| Migration plugin (Duplicator, All-in-One WP Migration, UpdraftPlus) | Migrate the site and database as a single package | Basic | Crashes on large websites |
| Manual | Files via SFTP, database via phpMyAdmin | Advanced | Errors in the database or wp-config.php |
| Moving service | Your new hosting provider will migrate everything | None | Low, provided that email and DNS are included |
My advice for most business owners is to use the migration service, because it also handles your email and DNS—and those are exactly the areas where things tend to go wrong. If you want to do it yourself, a plugin is the logical do-it-yourself option. Just be careful with the free versions—they often have a limit on the size of the package. I only recommend a manual migration if you’re familiar with phpMyAdmin and FTP, or if your site is so large that a plugin would crash. Some hosting control panels also have a clone or import feature that lets you migrate a site from another host.
Step-by-Step Guide: How to Move Your WordPress Website
Start preparing at least 24 hours in advance, as this will help you avoid most downtime. Contact your current DNS provider and lower the TTL of your records to, for example, 300 seconds. The TTL determines how long other servers will retain the old address, and a low value ensures that the switch will take effect quickly. In addition, a full backup of files and the database, save them locally, and make a note of all DNS records such as A, MX, and TXT. Next comes the migration itself, during which your domain will continue to point to the old server until the very end.
- Sign up for a hosting package with the new provider and add your domain.
- Transfer the files using a migration plugin or via SFTP, including
wp-content,wp-config.phpand.htaccess. - Export the database using phpMyAdmin or the plugin, and import it into a new, empty database.
- Not until
wp-config.phpthe valuesDB_NAME,DB_USER,DB_PASSWORDandDB_HOSTTurn on and check$table_prefix. - If your address changes, replace it using WP-CLI search-replace or Better Search Replace. See Changing the address of your WordPress site.
- Test the site using a temporary URL or the hosts file.
- Change the DNS settings.
Skip Step 5 if your domain name remains the same. If you do follow this step, never use "Find and Replace" in a text file, because WordPress stores many settings as serialized data, which can become corrupted.
Testing Before the Switch: Temporary URL or Hosts File
By using a temporary URL or the hosts file, you can view the site on the new server, while your visitors will still see the old one. The hosts file on your own computer maps a domain name to an IP address and takes precedence over the DNS. You add a line to it with the IP address of the new server and your domain name; on Windows, this is done in C:\Windows\System32\drivers\etc\hosts and on a Mac in /etc/hosts. If you see a certificate warning, don't worry. The SSL certificate is usually issued only after the DNS switch; at Surver, this is a free Let’s Encrypt certificate.
I always take my usual walk along there afterward, and this is the short version.
- The homepage and your most important pages, including images.
- Log in to
wp-adminand a submitted contact form. - Placing a test order on a WooCommerce online store.
- Subpages that return a 404 error. In that case, save Settings > Permalinks again.
If everything is working, remove the line from your hosts file; otherwise, you'll keep being redirected to the new server.
How to Change Your DNS Without Losing Your Email
You can change your DNS settings by either modifying the A record or by switching nameservers, and that choice determines whether your email is at risk. The A record links your domain to the web server’s IP address, while the MX record points to your mail server. To learn how domains, DNS, and email are connected in WordPress, read the Guide to Domains, DNS, and Email. If you're only moving the website, just update the A record; your email will stay where it was. If you’re switching nameservers, all records—including MX, SPF, and DKIM—must first be set up with the new provider. This is where things most often go wrong when moving the site yourself. If DNSSEC is enabled with your old provider, disable it there first and then re-enable it with the new provider. Thanks to the reduced TTL, DNS propagation completes quickly, and since both servers run side by side for a while, you won’t experience any downtime. You can find more background information at What is DNS?.
If you’re transferring your email, simply changing the MX records isn’t enough. The contents of the mailboxes must also be transferred, for example, by synchronizing them via IMAP. At Surver, mailboxes have a maximum size of 10 GB, so check large mailboxes in advance. If you want to ensure that a website migration never affects your email again, you can host your email separately with email hosting. You transfer the domain name itself using a transfer code—only once the site is ready, not while you're ordering your package. You can read about how that works at Transferring Your Domain and DNS.
Online Store, Post-Purchase Review, and Your Old Hosting Provider
Anything that comes in between your backup and the DNS switch on the old site—such as orders, accounts, and form submissions—will not be included in the copy. Therefore, move the site outside of peak hours, do not publish anything new in the meantime, and, for an online store, transfer the database one more time right before the switch, or briefly put the store into maintenance mode. Never move an online store on a Friday afternoon or right before a promotion. After that, it will run best on Managed WooCommerce Hosting.
After the migration, check to see if HTTPS is enabled and resolve any mixed content Clear the cache of your plugin, the server, and any CDN, if applicable, and choose at least the same PHP version just like on the old server. The errors I see most often after a migration are a database connection error due to a typo in wp-config.php, status code 500 due to a .htaccess-line breaks and strange characters caused by an incorrect character set during import. If your URLs remain the same, you won’t lose any rankings. If your domain changes, set up 301 redirects and monitor it in Search Console.
Don't hand over the key to your old house until everything is finalized. So keep your old hosting for at least a week, so you can revert the DNS if something does go wrong. If your old contract is still active, check contract takeover. With us, you can do this yourself or have it done for you with the free moving service. We will then migrate the website, email accounts (including folders), DNS records, and the domain, and properly configure the site URL and redirects. An online store will briefly enter maintenance mode during the migration. Afterward, your site will run on Managed WordPress Hosting, see also What is managed WordPress hosting?. If you'd also like to outsource the updates and checks, we'll take care of that with WordPress maintenance.
Frequently Asked Questions
How long does it take to migrate a WordPress website?
For an average website, the migration itself takes a few hours. Add to that one day of preparation to reduce the TTL. The DNS change usually takes effect within a few hours after that.
Does Surver migrate my website for free?
Yes. Surver's migration service is free with every plan, with no limit on the number of sites or online stores. Your email accounts, DNS records, and domain are included.
Do I need to transfer my domain name as well?
No, you can also just update the A record. If you want to have everything with one provider, wait to transfer the domain until after you've moved the website, using the transfer code from your current registrar.
